Tools & materials you'll need
Affiliate linksAs an Amazon Associate FixlyGuide earns from qualifying purchases — at no extra cost to you. Prices and availability are accurate as of publication and subject to change.
Quick Answer
Annoying floor squeaks are typically caused by friction between shifting wooden components beneath your feet. As floorboards, subfloor, and joists expand and contract with changes in humidity and temperature, small gaps can form. When weight is applied, these components rub against each other, creating that telltale squeak. The good news is that many squeaks can be silenced without the disruptive and costly process of removing floorboards. Techniques like lubricating gaps with talcum powder or graphite, or using specialized screws to draw components together, can effectively resolve most common floor squeaks.
The Problem
Floor squeaks are more than just a minor annoyance; they can be a constant reminder of an aging house, interrupt quiet moments, and even indicate minor structural shifts. For many homeowners, the thought of tearing up beautiful hardwood or expensive carpet to find the source of a squeak is daunting, leading them to tolerate the noise. The core problem is usually movement: wood components like floorboards, the subfloor, and the joists underneath are not perfectly rigid. Over time, due to natural expansion and contraction, fluctuating humidity, and settling of the house, small gaps develop. When you step on a particular spot, the weight causes these loose components to rub together, generating friction and, consequently, a squeak. Identifying which components are rubbing—and how to stop that movement—is the key to a lasting fix without extensive demolition.
How It Works
Understanding the anatomy of your floor is crucial to effectively silencing a squeak. Most residential floors consist of several layers. At the very bottom are the floor joists, which are large, horizontal lumber beams running perpendicular to the exterior walls, typically spaced 16 or 24 inches on center. These joists are the primary structural support, transferring the load of the floor to the foundation or supporting walls.
Above the joists lies the subfloor, usually made of plywood or OSB (oriented strand board) sheets, typically 5/8-inch or 3/4-inch thick. The subfloor is fastened directly to the top of the joists with nails or screws and provides a stable, continuous surface. Its main purpose is to add rigidity to the floor system and serve as a base for the finished flooring.
Finally, on top of the subfloor is the finished flooring, which is what you see and walk on: hardwood planks, laminate, carpet, tile, vinyl, etc. This layer is installed over the subfloor, often with an underlayment in between for sound deadening, moisture protection, or cushioning.
Squeaks arise when any of these layers rub against another with insufficient friction or when fasteners have loosened. Common scenarios include:
- Subfloor rubbing on joists: As the joists dry out, they can shrink slightly, causing the subfloor to lift marginally from the joist top. The original nails, which may have loosened over decades, then allow the subfloor to slide up and down the nail shaft, creating a squeak.
- Finished flooring rubbing on subfloor: This is common with hardwood floors. Seasonal changes cause hardwood to expand and contract. If inadequate expansion gaps were left during installation, or if the boards are simply old and worn, they can rub against each other or the subfloor beneath.
- Loose joist hangers or bridging: Less common, but sometimes the metal hangers connecting joists to beams, or the wooden blocking/bridging between joists, can loosen and rub.
Our goal is to either lubricate these rubbing surfaces or pull the loose components tightly back together, eliminating the movement that causes the noise, all without the need to lift a single visible floorboard.
Step-by-Step Fix
Safety Note: Always wear appropriate eye protection and gloves when working with tools. If accessing from a crawl space or basement, ensure the area is well-lit and free of hazards like exposed wiring or sharp objects. Never attempt to drill into areas where you suspect electrical wires or plumbing pipes might be present without verifying their location.
- Locate the Exact Squeak – Precision is key.
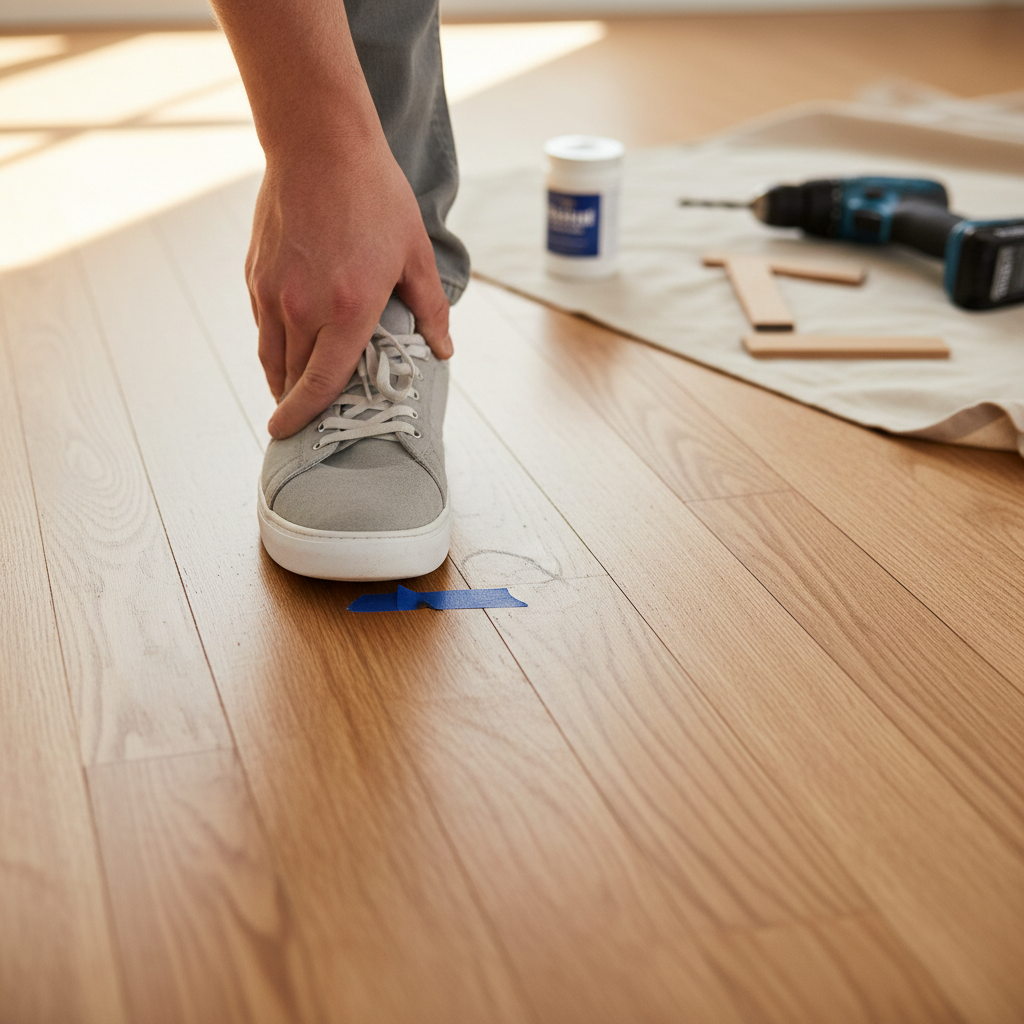
- Walk over the squeaky area multiple times, trying to pinpoint the exact square inch that squeaks loudest. Sometimes it helps to have a partner walk while you listen from below (if accessible) or get on your hands and knees. Use masking tape to mark the precise spot on the floor.
- If your home has a crawl space or unfinished basement below the squeak, proceed to option A. If not, proceed to option B.
Option A: Fixing from Below (Crawl Space or Unfinished Basement)
This is often the most effective method, as it works directly on the subfloor-to-joist connection.
-
Verify Access and Identify Joists – Locate your structural supports.
- From your crawl space or basement, locate the marked squeak area above you. Identify the floor joists that run beneath this section of the subfloor. The squeak is almost always located where the subfloor meets a joist.
- Safety: Be mindful of exposed nails, splinters, and potential pests or dust in older crawl spaces. Wear a dust mask if the air quality is poor.
-
Lubricate Gaps (Initial Attempt) – Reduce friction first.
- For subtle squeaks, try lubricating the junction where the subfloor meets the joist. Spray a small amount of powdered graphite or blow talcum powder into the tiny gap between the subfloor and the top edge of the joist. The goal is to reduce friction.
- Have a helper walk on the floor above while you listen. If the squeak lessens or disappears, you might be done.
- If the squeak persists, move to the next step.
-
Install Floor Squeak Eliminating Brackets or Screws – Secure loose subfloor.
- For more persistent subfloor-to-joist squeaks, specialized metal brackets (like the Squeak-Ender) or screws designed to pull the subfloor tight to the joist are highly effective.
- Using a Squeak-Ender Bracket: Position the bracket alongside the joist, directly under the squeak. The bracket has a screw that extends upwards to push against the subfloor, effectively wedging it tight to the joist from below. Ensure the bracket is securely fastened to the side of the joist with wood screws. Tighten the upward-facing screw until the squeak disappears. Be careful not to overtighten and create a bulge in your finished floor.
- Using a Shim: If the gap between the joist and subfloor is small and consistent, you can gently tap a thin wooden shim (a cedar shake shingle trimmed down works well) into the gap. Apply wood glue to the shim before inserting it. Do not force it, as this can create a new hump in the floor. Trim flush once the glue dries. This is a simpler, less invasive method for very minor gaps.
- Pro Tip: If unable to find specialized brackets, use a 2x4 block cut to fit snugly between two joists, directly under the squeak. Screw the block into the subfloor from below, then secure the block to the joists on either side. This acts as an additional support point.
Option B: Fixing from Above (When No Access Below)
This method focuses on securing the finished floor and subfloor to the joists from the surface, often through carpet or into the grout lines of tile.
-
Target and Mark Joists – Find your anchoring points.
- Using a stud finder, locate the floor joists beneath the squeaky area. Joists are typically spaced 16 or 24 inches apart. Mark their positions lightly with a pencil. The squeak is almost certainly where the floorboards cross a joist.
- For hardwood floors, you want to drive screws into the joists where the floorboards meet, or just to one side.
-
Lubricate Finished Floor Gaps – Address board-on-board friction.
- For hardwood floors, if the squeak seems to be coming from the individual planks rubbing against each other, try dusting talcum powder, powdered graphite, or even dry silicone lubricant spray into the seams between the boards in the squeaky area. Work it in with a stiff brush. The powder will reduce friction.
- Walk on the area to help the lubricant penetrate. Repeat a few times. This often works wonders for superficial squeaks.
- If the squeak persists, more intervention is needed.
-
Use Squeak-Stopping Screws – Secure layers together discretely.
- These specialized screws (e.g., O'Berry Squeak-No-More or Counter-Snap kits) are designed to pass through the finished floor and subfloor, anchoring into the joist, but allowing the screw head to be snapped off below the surface of the finished floor.
- For Carpet: Locate the joist with your stud finder. Push aside carpet fibers to expose the subfloor beneath (use an awl if needed). Drill a pilot hole through the carpet, subfloor, and into the joist. Drive the specialized screw until it's snug, then use the provided depth gauge to snap off the screw head, leaving it hidden beneath the carpet pile. The carpet fibers will resettle, concealing the repair.
- For Hardwood (with caution): This is riskier on finished hardwood. If you must, look for a small gap or use a very thin screw designed for this purpose. You'll need to fill the tiny hole. Drill a pilot hole through the hardwood and subfloor into the joist. Drive the screw, snap off the head, and then fill the remaining tiny hole with wood putty or a matching wood filler crayon. This should be done discreetly, perhaps along a board edge or in a less visible area. Consider this a last resort for hardwood if lubrication fails and you cannot access from below.
- For Tile/Vinyl: This method is generally NOT recommended for tile or sheet vinyl, as drilling can crack tiles or create visible punctures. Surface squeaks on tile or vinyl are more likely subfloor issues or require professional intervention. For these, try to access from below if at all possible.
Common Causes
- Wood Shrinkage/Expansion: This is the most prevalent cause. As humidity levels and temperatures change seasonally, wooden floor components (joists, subfloor, finished flooring) will naturally expand and contract. This can lead to small gaps forming between layers that were once tightly fastened.
- Loose Fasteners: Over time, nails can loosen their grip in wood due to movement and age. When a nail no longer holds the subfloor tightly to a joist, the subfloor can slide up and down the shank of the nail, creating a squeak.
- Improper Installation: During construction, insufficient nailing or screwing of the subfloor to joists, or not using construction adhesive, can lead to premature squeaks. Also, leaving inadequate expansion gaps for hardwood flooring can cause boards to rub tightly against each other.
- House Settling: All houses settle to some degree. Minor settling can cause slight shifts in the framing, introducing stresses and opening up small gaps in the floor system.
- Damaged or Warped Components: Less commonly, a warped joist, damaged subfloor, or bowed floorboard can be the culprit. These issues usually result in more significant, consistent squeaks and may require professional assessment.
Common Mistakes
- Not Pinpointing the Exact Squeak: Randomly drilling or shimming in the general vicinity of a squeak is ineffective. Spend time walking, listening, and marking the precise source of the noise. A little extra time upfront saves significant effort later.
- Overtightening Screws/Brackets from Below: When installing brackets or driving screws from below, overtightening can cause a visible hump or bulge in your finished floor upstairs. Tighten just enough to eliminate the squeak, then stop.
- Using the Wrong Screws from Above: Using regular wood screws on finished flooring often leaves an unsightly screw head visible or requires extensive patching. Specialized squeak-eliminating screws are designed to break off cleanly below the surface, making them largely invisible.
- Ignoring the "Why": Just fixing the squeak without considering its root cause (e.g., very high humidity in a crawl space causing wood movement) might lead to recurring issues. Sometimes, addressing the environmental factor (like improving crawl space ventilation) is part of a long-term fix.
- Drilling Blindly: Never drill into a floor from either above or below without being reasonably certain of what
Related Articles
Keep troubleshooting with these hand-picked guides from FixlyGuide:
- The 3 Hidden Reasons Your Floor Squeaks (And 3 Ways to Silence It) — Silence a squeaky floor without tearing up your home using targeted lubrication, shims, or specialized screws.
- The Squeaky-Floor Truth Contractors Never Tell You (And the $10 Solution) — Discover the real reasons behind squeaky floors and how a common overlooked issue can be fixed with simple tools and materials.
- Your Squeaky Floor's Secret: It's Not the Wood, It's the Gap — Tired of that persistent floor squeak? Discover the hidden causes of noisy floorboards and learn several easy, DIY methods to silence them…
- The Creaky Floor Secret: How to Silence Squeaks Without Tearing Up Boards — Learn how to eliminate annoying floor squeaks using simple, non-invasive methods without the hassle of removing floorboards.
- The 3 Hidden Reasons Your Door Won't Latch (And the Easy DIY Fixes) — Frustrated by a door that refuses to latch? Discover the common culprits behind this annoying problem and learn simple, effective DIY fixes…
- The 7 Critical Home Inspection Mistakes Almost Every Homeowner Makes — Don't wait for a costly surprise; learn the common mistakes homeowners make with annual inspections and how to build a smart, proactive mai…
Get the print-ready PDF of this guide
A clean, ad-free, printable version you can keep on your phone or pin to the workshop wall. We'll also send occasional weekly tips matched to your home situation.
- Print-optimized layout
- Tools, materials & every step included
- Unsubscribe anytime
Frequently asked questions
What causes floor squeaks?+
Floor squeaks are primarily caused by friction and movement between the subfloor, floor joists, and finished flooring as these wooden components expand and contract due to changes in humidity and temperature. Loose fasteners also contribute to the problem.
Can I fix a squeaky floor without ripping up the carpet or hardwood?+
Yes, many squeaky floors can be fixed without removing the finished flooring. Techniques include lubricating gaps with powder, using specialized screws that snap off below the surface, or working from an accessible crawl space or basement to secure the subfloor to the joists.
Is a squeaky floor a sign of a structural problem?+
Usually, a squeaky floor is not a sign of a major structural problem, but rather minor movement or loose connections. However, if squeaks are accompanied by significant sagging, cracks in walls, or other signs of distress, it's wise to consult a structural engineer.
What's the best way to find a squeak?+
The best way is to carefully walk the squeaky area, identifying the precise spot that makes the most noise. Having a partner walk while you listen from a different vantage point (or from below if accessible) can significantly help pinpoint the exact source.


Discussion
Loading comments…